Version control has become essential for me keeping track of projects, as well as collaborating. It allows backup of scripts and easy collaboration on complex projects. RStudio works really well with Git, an open source open source distributed version control system, and GitHub, a web-based Git repository hosting service. I was always forget how to set up a repository, so here’s a reminder.
This example is done on RStudio Server, but the same procedure can be used for RStudio desktop. Git or similar needs to be installed first, which is straight forward to do.
Setup Git on RStudio and Associate with GitHub
In RStudio, Tools -> Version Control, select Git.
In RStudio, Tools -> Global Options, select Git//SVN tab. Ensure the path to the Git executable is correct. This is particularly important in Windows where it may not default correctly (e.g. C:/Program Files (x86)/Git/bin/git.exe).
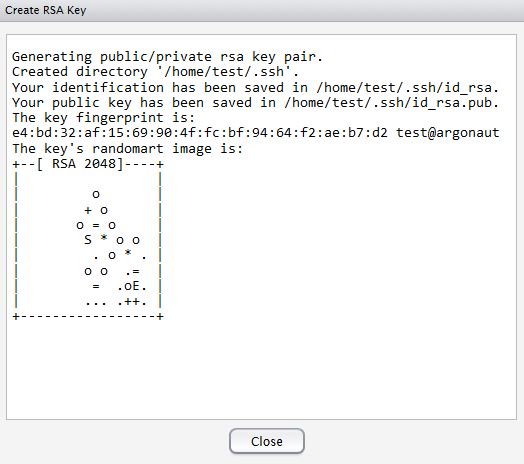
 Now hit, Create RSA Key …
Click, View public key, and copy the displayed public key.
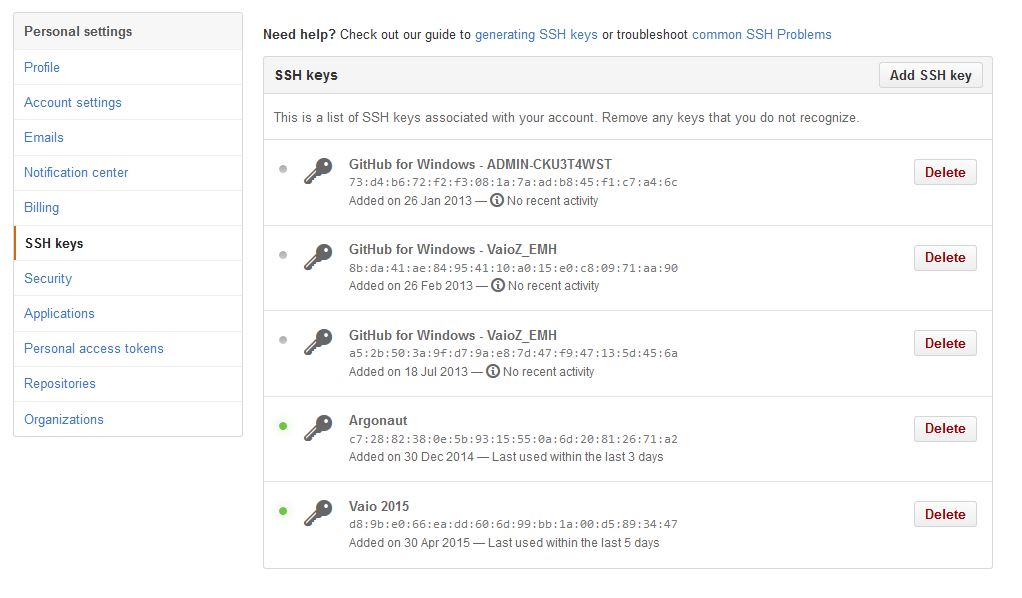
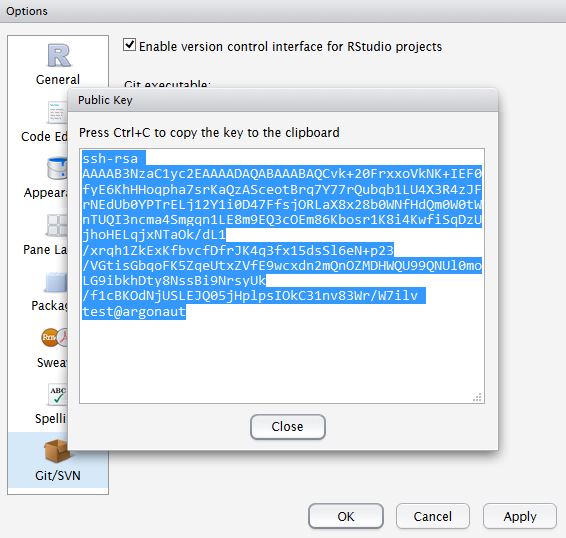 If you haven’t already, create a GitHub account. Open your account settings and click the SSH keys tab. Click Add SSH key. Paste in the public key you have copied from RStudio.
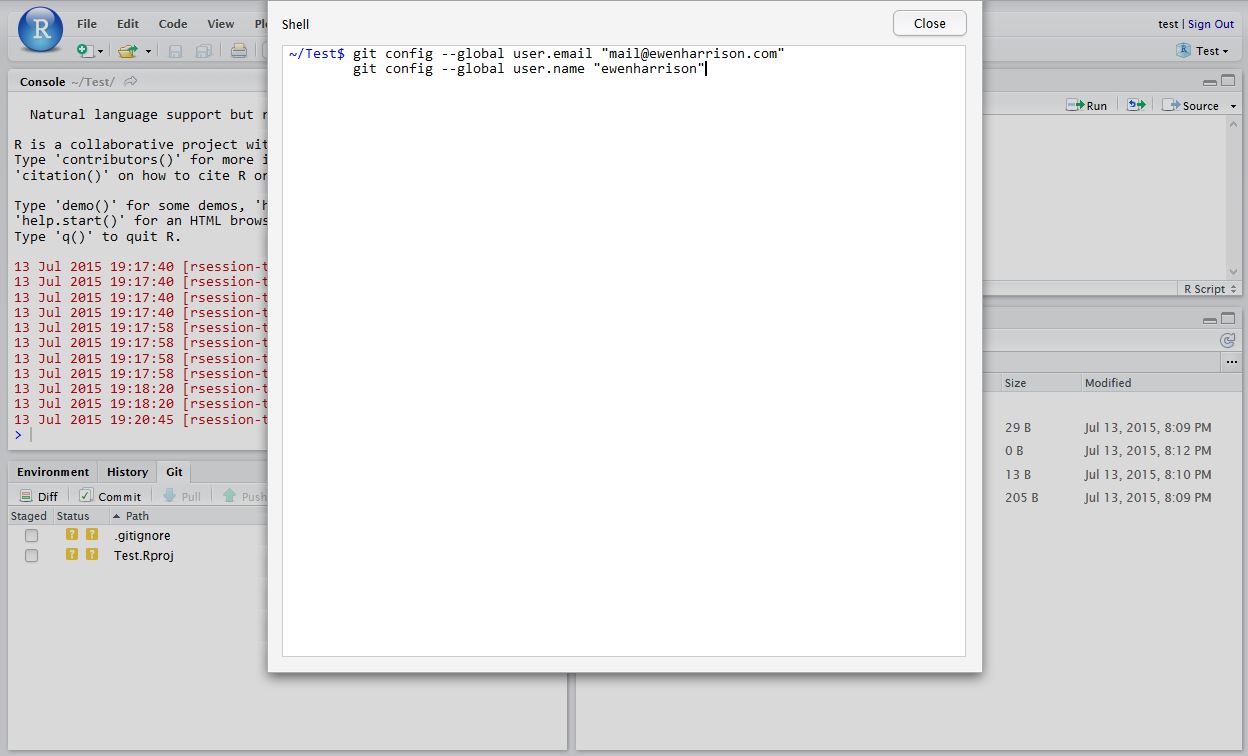
 Tell Git who you are. Remember Git is a piece of software running on your own computer. This is distinct to GitHub, which is the repository website. In RStudio, click Tools -> Shell … . Enter:
git config --global user.email "[email protected]"
git config --global user.name "ewenharrison"
Use your GitHub username.
Create New project AND git
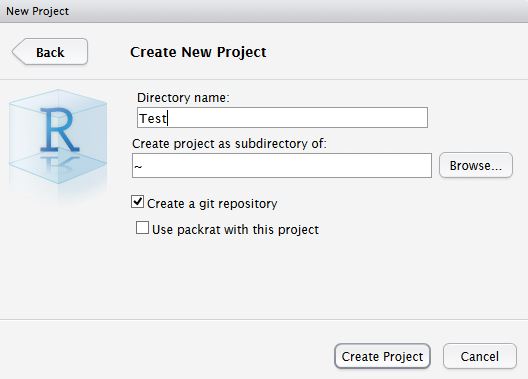
In RStudio, click New project as normal. Click New Directory.
Name the project and check Create a git repository.
Now in RStudio, create a new script which you will add to your repository.
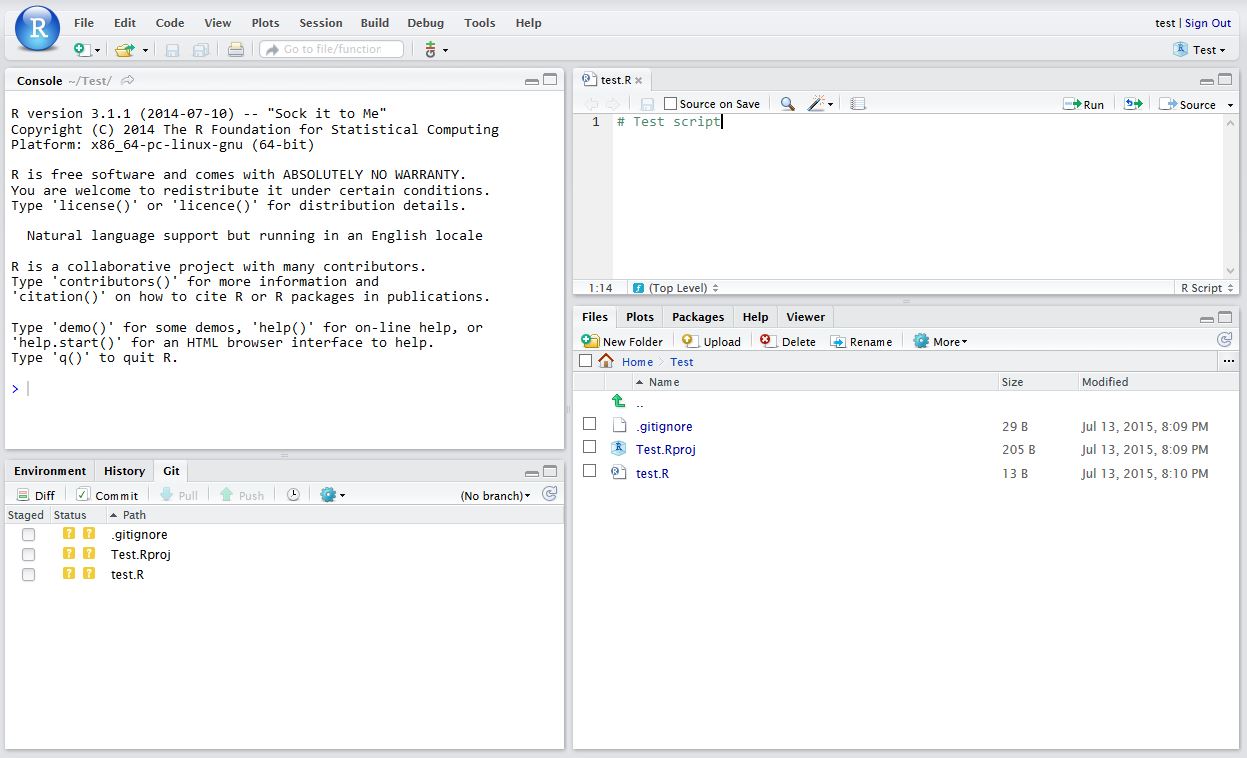 After saving your new script (test.R), it should appear in the Git tab on the Environment / history panel.
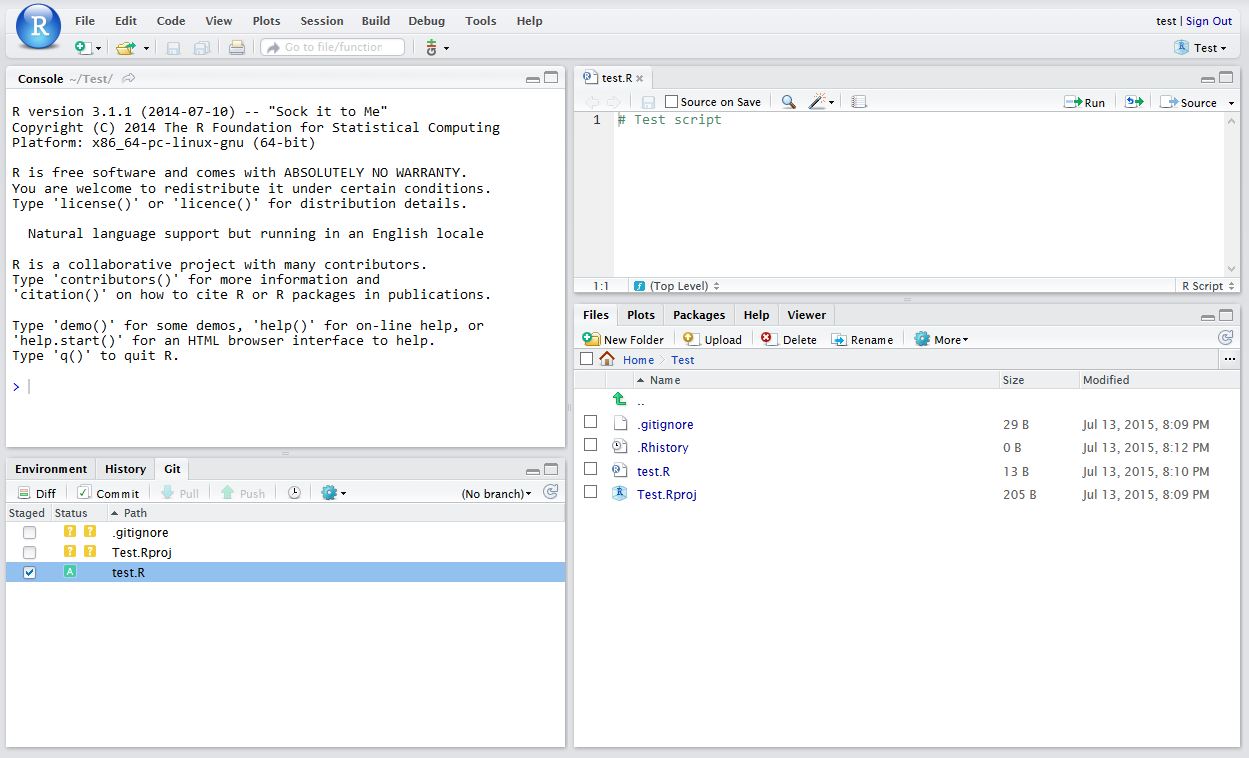 Click the file you wish to add, and the status should turn to a green ‘A’. Now click Commit and enter an identifying message in Commit message.
 You have now committed the current version of this file to your repository on your computer/server. In the future you may wish to create branches to organise your work and help when collaborating.
Now you want to push the contents of this commit to GitHub, so it is also backed-up off site and available to collaborators. In GitHub, create a New repository, called here test.
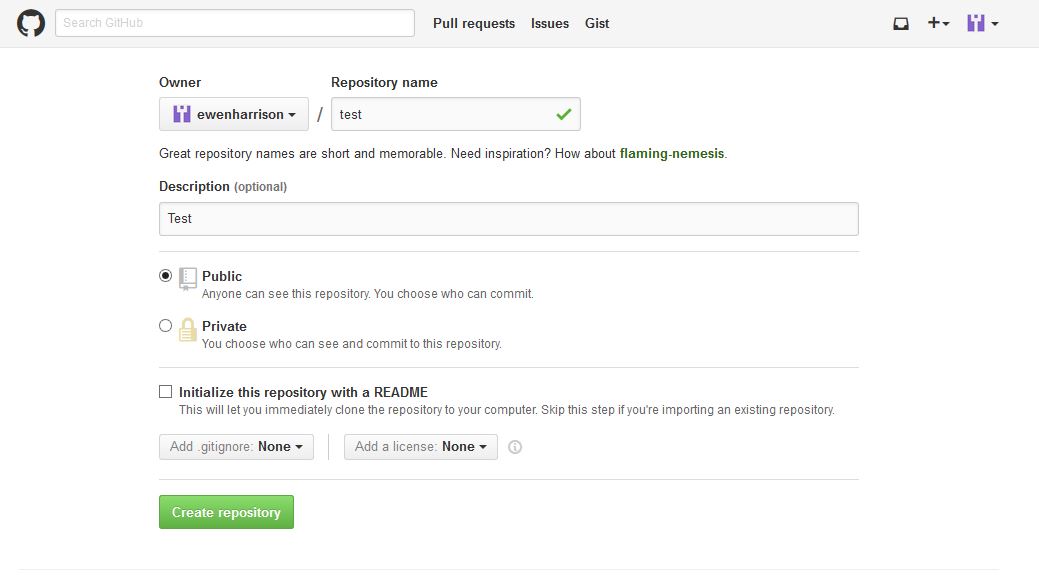 In RStudio, again click Tools -> Shell … . Enter:
git remote add origin https://github.com/ewenharrison/test.git
git config remote.origin.url [email protected]:ewenharrison/test.git
git pull -u origin master
git push -u origin master
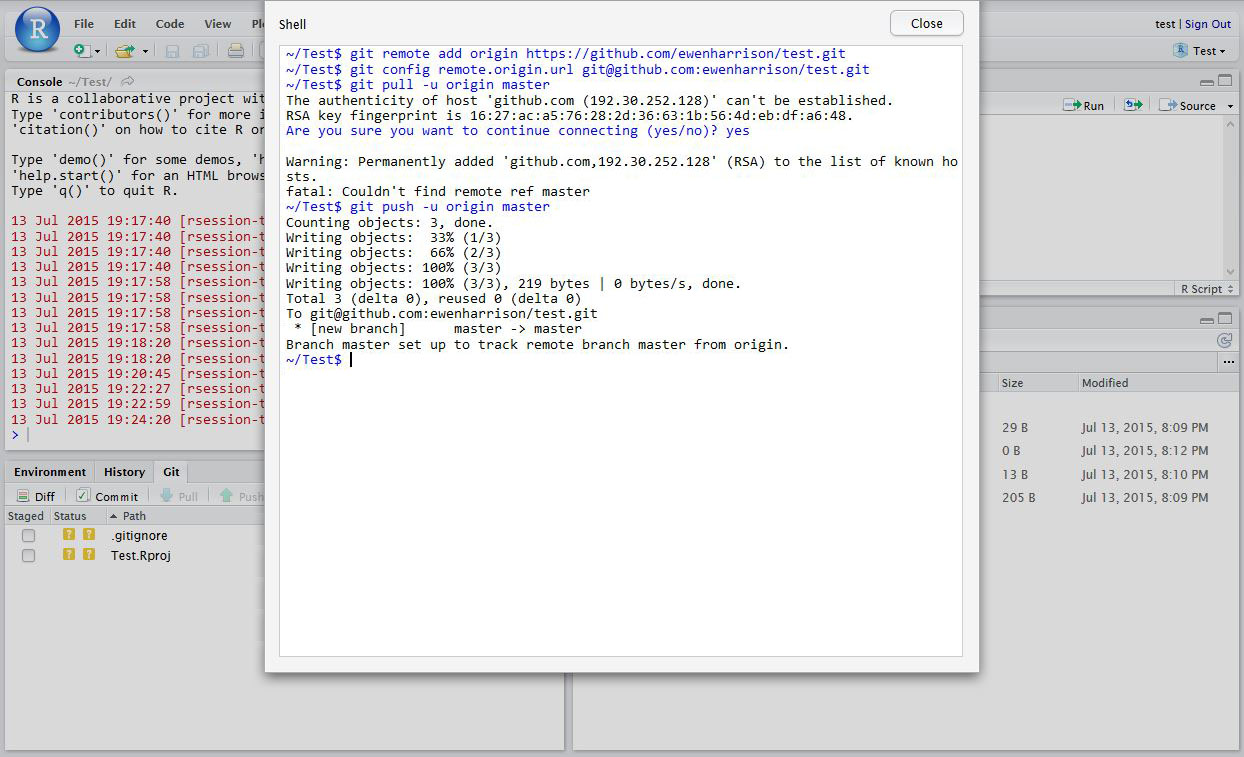 You have now pushed your commit to GitHub, and should be able to see your files in your GitHub account. The Pull Push buttons in RStudio will now also work. Remember, after each Commit, you have to Push to GitHub, this doesn’t happen automatically.
Clone an existing GitHub project to new RStudio project
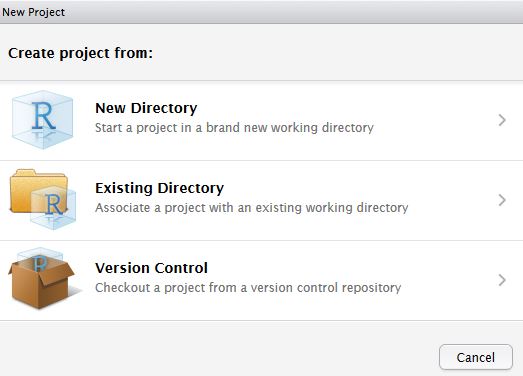
In RStudio, click New project as normal. Click Version Control.
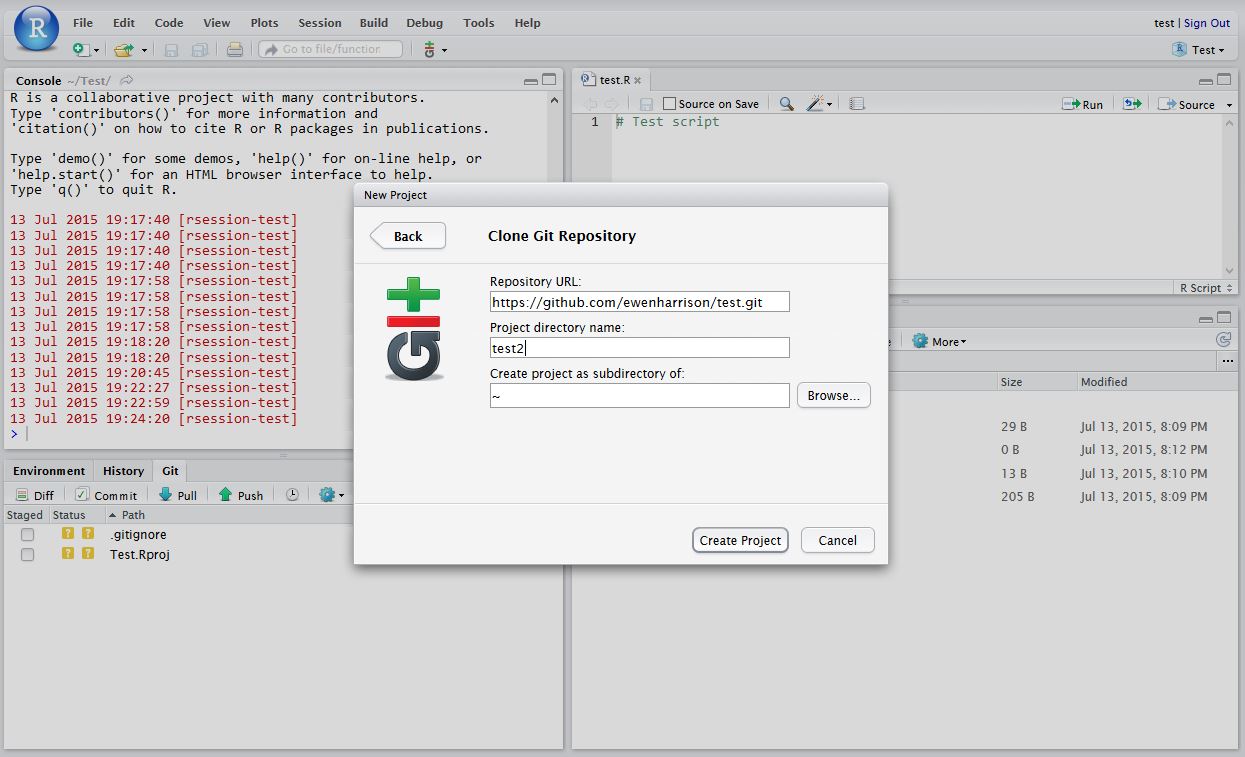
 In Clone Git Repository, enter the GitHub repository URL as per below. Change the project directory name if necessary.
 In RStudio, again click Tools -> Shell … . Enter:
git config remote.origin.url [email protected]:ewenharrison/test.git
Interested in international trials? Take part in GlobalSurg.


Is there a reason to use Git for a project that I do myself, since I have Dropbox?
Hi Jacob, Git is a more powerful way to version control. With Dropbox, you can roll back to previous versions but it is not particularly easy to use.
Note to self. If RStudio `Pull` and `Push` greyed-out, try:
git branch –set-upstream-to=origin/master